
How do I attach a report to existing screen and Menu options?
Follow these easy 3 steps, you can attach an existing report to menu option through Automation steps, that’s right if you always wondered what can I do with Automation steps, this is a perfect example for it.
 Step 1: Navigate to System –> Automation –> Automation Steps, from that screen select the Screen ID by drilling down to Sales Order screen
Step 2: Now let’s identify the step we need our automation, we need this for a new order type called “RM” Return Order (RMA) and you want to show the option to print only when it’s RM and the status of this order is “Open”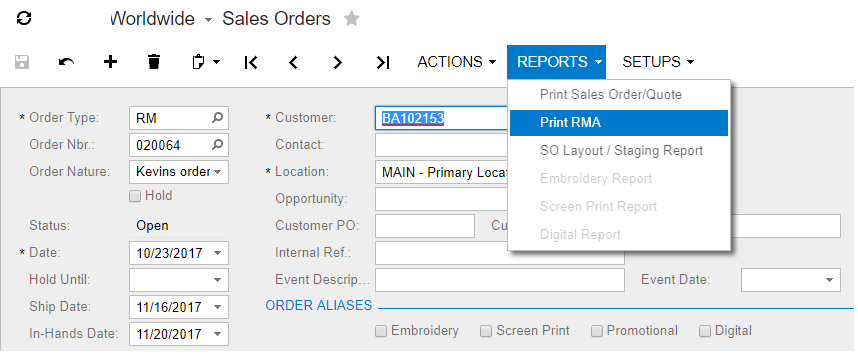 Step 2a: From the Step Id drop down select the option “RM Open” which indicates when user select order type as RM and the status is Open then do the following automations
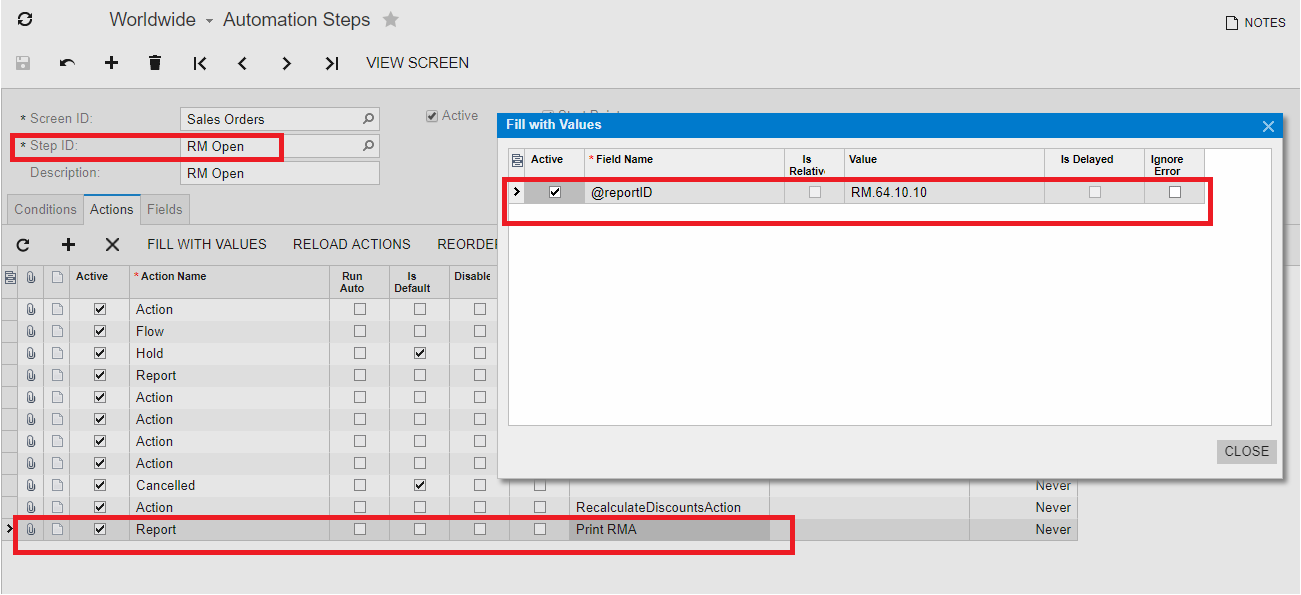
Step 3: Click on the Action tab as shown in the screenshot below, add a new line and from the drop down options select “Report” from the options and tab over, give it a menu name “Print RMA” and click save.
Now click the button “Fill with Values” while the row being highlighted and in the field name enter @reportID and tab over to enter the report value as “RM.64.10.10” the screen ID and click close.
That’s it you have attached an existing report to Sales Order screen, and when the conditions is met this report menu option is exposed or enabled, so users can run the report seamlessly from sales order screen.
If you need Acumatica Customizations or development projects reach out to InfoSourcing, Acumatica Certified Partner


